


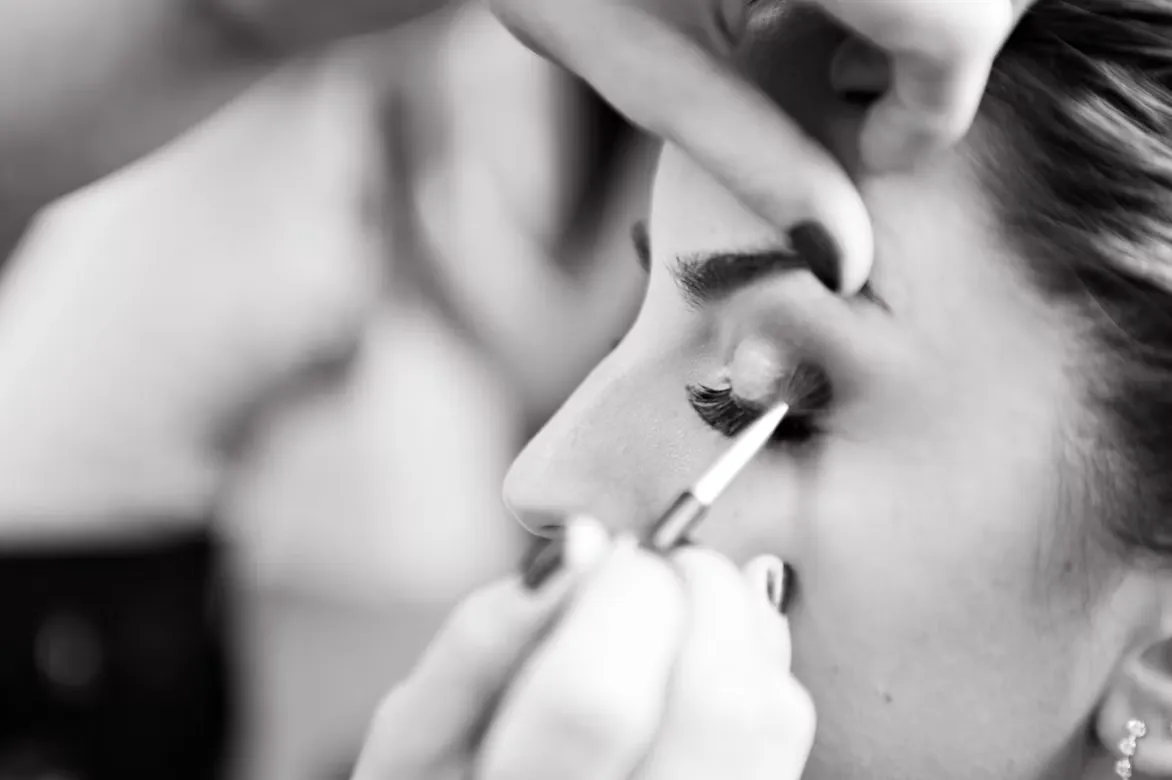
Your bridal beauty routine should help you look like yourself in every photo, from the quiet getting-ready moments to the final dance. Camera-friendly results come from hydrated skin, balanced makeup and a few practical touch-ups during the day.
Start testing products several weeks before the wedding so you have time to spot irritation, adjust colors and see how everything wears under different lighting. Those small trials will help your finished look feel comfortable and natural without requiring constant attention.
Prioritize Long-Term Skin Hydration
Begin a consistent hydration routine at least six to eight weeks before the wedding. Use a gentle cleanser followed by a fragrance-free moisturizer morning and night. If your skin feels tight by midday, try adding a hydrating serum beneath your moisturizer. Introduce only one new product at a time and allow at least a week to judge how your skin reacts, following these glowing skin tips.
Hydration also affects how foundation sits around the nose, cheeks and forehead. Well-moisturized skin tends to produce a smoother finish with fewer dry patches visible in close-ups. When discussing your schedule and preferred photography style with Mae Wickham Photography, an award-winning wedding photographer, ask when portraits are likely to happen so you can plan your final skin preparation accordingly.
Why Soft Neutral Makeup Works Best
Soft neutral makeup photographs beautifully because it defines your features without overpowering them. Choose foundation that matches your neck in daylight, then add a light layer only where you need coverage. Peach, rose, and warm beige tones tend to give the face dimension while keeping the overall look fresh.
Schedule a makeup trial four to eight weeks before the wedding and wear the finished look for a full day. Take phone photos beside a window, outdoors and under indoor lighting. If you want extra polish, natural wedding makeup can combine softly defined eyes, groomed brows and a comfortable lip color without appearing heavy.
Working in Natural Daylight
Apply your makeup near a large window whenever possible. Natural daylight reveals mismatched foundation, uneven blending and excess powder more clearly than a warm bathroom bulb. Face the window directly and keep the light in front of you, since overhead light can create misleading shadows beneath the eyes.
Your getting-ready space matters too. Clear a spot near the brightest window and keep makeup bags, clothing covers and drinks away from that area. This gives your makeup artist room to work and creates a calmer background for photographs. If the room has strong direct sun, use a sheer curtain to soften it. Check the finished makeup from several angles before getting dressed, paying close attention to the jawline, hairline and sides of the nose.
Quick Fixes for Midday Shine
Pack blotting papers, pressed translucent powder, cotton swabs and your lip product in a small touch-up bag. Blotting papers should come first because they lift oil without adding another layer of makeup. Press one gently across the forehead, nose and chin, then apply a tiny amount of powder only if shine remains.
Ask a trusted friend to carry the bag and check your makeup before group portraits or evening photos. A cotton swab can clean mascara smudges or lipstick edges in seconds. Avoid rubbing the skin or repeatedly powdering the entire face, which can create a dry texture in close images. For lipstick, remove any loose color with a tissue before applying a thin fresh layer and pressing your lips together once.
The best bridal beauty test is simple: wear your planned look for several hours and photograph it in the same types of light you expect on the day. Once the products feel comfortable and the colors look balanced, leave the routine alone and let your expressions do the rest.


